Showing posts with label christmas crafts. Show all posts

Yummy Snowmen

12.19.2008


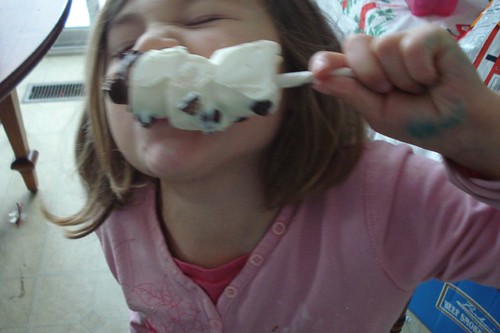
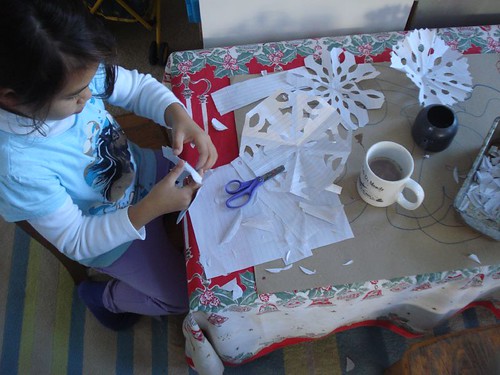
How about a sugary little winter project? Seriously, Maddie ate one half of one of these and was running circles around the house.

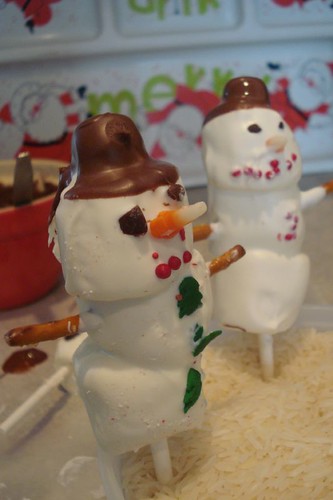
White Chocolate Marhsmallow Snowmen

20 lollipop sticks
2lbs white chocolate (I buy a big block at a local store- about 1.50 a pound- you could probably use chips or almond bark)
About a cup of milk or dark chocolate
60 big marshmallows (plus extra for munching)
20 small marshmallows
Thin pretze sticks cut in half
Assorted candies and chips for decorating
We used what I had:candy corn, chocolate chips cut up, sprinkles. Mini m&m's would be good or mini chocolate chips.
Wax Paper

Melt the white chocolate over a double boiler or using a fondue pot. I used an electric fondue pot and it works great. I can adjust the temp so no burnt chocolate. I melted the milk chocolate in the microwave and rewarmed as needed.

Put 3 large marshmallows onto a lollipop stick.


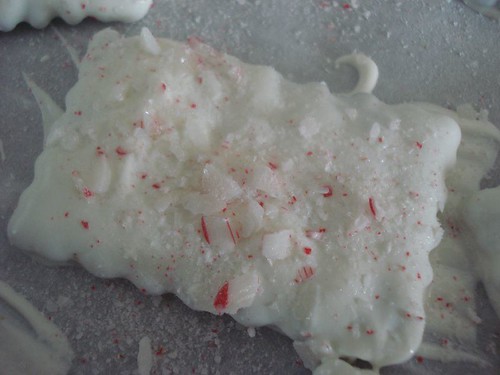
Swirl in white chocolate to coat. Shake of the excess.


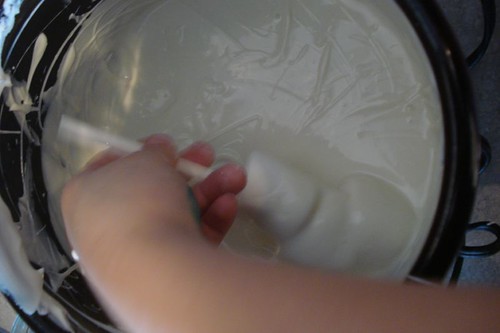
Lay on a sheet of wax paper and start decorating. Attach pretzels for arms and have at it with the other decorations, eyes, nose, buttons, mouth etc.


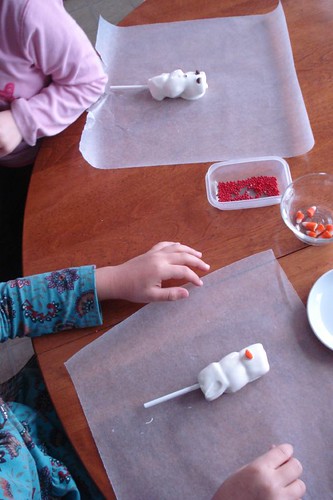
Add the small marshmellow to the top and let cool on counter or pop in the freezer. The white chocolate needs to harden before you dip in the milk chocolate. Once hardened dip just the tops in the melted milk chocolate to make the hats.


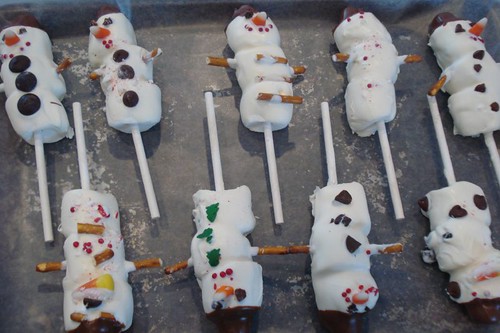
Again let cool or put in the freezer. Put in a cellophane bag, tie off with a ribbon and done. Super simple, a bit on the messy side but the girls had a blast.

Oh don't forget to eat, maybe while reading Snowmen at Night- one of our favorite winter books.

A Trio of Gifts

12.31.2007

For some of the little ones in our family. Three different games using the same materials. Each came in a little handmade bag with other treats. I used Bazzil Chips and Labels from here. As with most of my projects the idea was great. I'd be happy to give a little how-to on these later. The girls loved helping make these.

Annie-Mama we're giving gifts from the heart this year, right?
Me-Yes, Why do you think that?
Annie-Because we are making them.

Really, I just so love that child and the way she thinks.

DSC07272

::Family Bingo

DSC07266

::Family Memory

DSC07265

::Family Tic-Tac-Toe

Advent Blog:Finishing up the year in pictures.

12.29.2007

The Advent Blog kinda fizzled out. Projects were done, pictures were taken but posting never seemed to fit in to the whrilwind that is the holiday season. We had a lovely holiday and with lots of visiting with family. I thought I would finish out the year with a few picture posts of all that has been going on around here. I hope you all had a wonderful, peaceful holiday.
Happy New Year.


DSC07074
::the snowflakes

DSC07260
::the cookies

DSC07219

DSC07248
::the peppermint and white chocolate

DSC07209
::the gingerbread (mess)

Advent Blog:Glitter and Glue

12.13.2007

DSC07115


All of my holiday decorations lean more to the red, green and natural. Having two little girlies I figured we really needed a bit of glitter in our decorations. I wanted something easy and cheap that would also work as little gifts. Glittered Stars it was.


What you need.

A spool of wire
Glitter
Glue
A board
Golf Tees
A drill with proper sized drill bit
A tin and a tub with a lid


Use a cookie cutter (or draw your own star) onto the board. Mark the points of the star and drill holes. Stick the golf tees into the holes.


Cut off a length of wire. On our first few stars we used a single wire. They were a bit wonky, we ended up doubling up the wire. You could also use a thicker gauge wire. I was using what we had on hand.

Wrap the wire start around the #1 peg and follow then follow the pattern like a dot to dot.


Pull the tees out and remove the star. Put in a shallow dish and get it all full of glue.


Now put the star into a tub with a lid and add your glitter. Shake it up. (this was the girls favorite part)


Open the tub, ohh and ahh and let dry. Now what to do with all those stars......

Advent Blog: Cards

12.05.2007

I signed the girls up for a Holiday Card swap through Kids Craft Weekly. We were given 10 families to send our kid made cards. A little strategic planning and our Advent Garland said we would get to make cards that day.

We clipped some evergreen needles and used red and green paint to make prints. I envisioned lovely little sprays of evergreens dotted with red berries. The end result was a bit more abstract and absolutley lovely. Let's hope the kids in the Dominican Republic, Singapore, Spain, Utah, Ohio, Minnesota, California and the UK are just as pleased.

DSC07004

DSC07009

DSC07010

DSC07011

Maddie only finished one card, the all green one, she insisted on making sure it was all green. I am fairly certain there is some developmental stage for needing to fill the entire page in one color. Not sure anymore what it is, but I was happy to let her develop.

Advent Blog:Garland

12.03.2007

Last year we put together a little tree garland with paper rings. It served as our Advent Calendar with little things to do each day.

This year we decided on a tree and star Advent Garland. We still added little things to do each day: cocoa by the fire, read a christmas book, make cookies. Nothing fancy and I made sure to plan out the days so it works with our schedule. I would love to have a fancy mom made calendar, but time was short and anything to keep the girls busy. So cookie cutters for patterns, leftover scrapbooking paper, and a little hard work by Annie a beautiful kid made garland we had.

DSC06998

I love all the backwards numbers.

DSC07003

If ever I was to make a garland I would be sure to find some great inspiration from one of these links.

A Peek Inside the Fish Bowl
All Sorts
Zopeuse's on Flickr
Craft Magazine
My Words
Whip Up
Uncommon Grace
From Kiddley
Family Fun
From Martha more Martha

Hope you all are inspired too.